A complete guide for artists learning how to sketch a bear using basic shapes, structure, and texture techniques.
Painting a tiger has it’s challenges:
I often struggle to render an accurate depiction of a tiger. It’s a very complicated but challenging endeavor to take on. This “How to painting a tiger tutorial ” article will walk you thru my creative journey. You will see another artist struggle with anatomy, and frustration as I try to complete my artistic vision of a tiger portrait painting. I do not frequent the zoo, nor do I own a pet cat for reference. I simply use lots of photo references and imagination, combined with 30 years of experience trying to nail down the ultimate big cat masterpiece.
In this how to guide, you will see me fail over and over again. I will get frustrated, and sometimes toss my artwork in the trash, only to start over again. You will also notice I spend an exborbatant amount of time practicing particular painting techniques and different style, only to give up and move on to something different.
The beauty of this lesson is you will watch others struggle, and be able to learn from my mistakes. This is a specialty niche that is rarely published online. Most artists do not elaborate on their mistakes, which is the crucial building steps to getting better creating art.
Creating a Tiger portrait is Summary: Most of the work is painting the stripes, and getting the details in the head to look realistic. The body, legs and paws are fairly simple and easy to render, especially if you have a pet cat to reference. Since most felines have similar anatomy, you could use your pet kitty to familiarize yourself with a cats anatomical structure, then move on to painting the tiger.
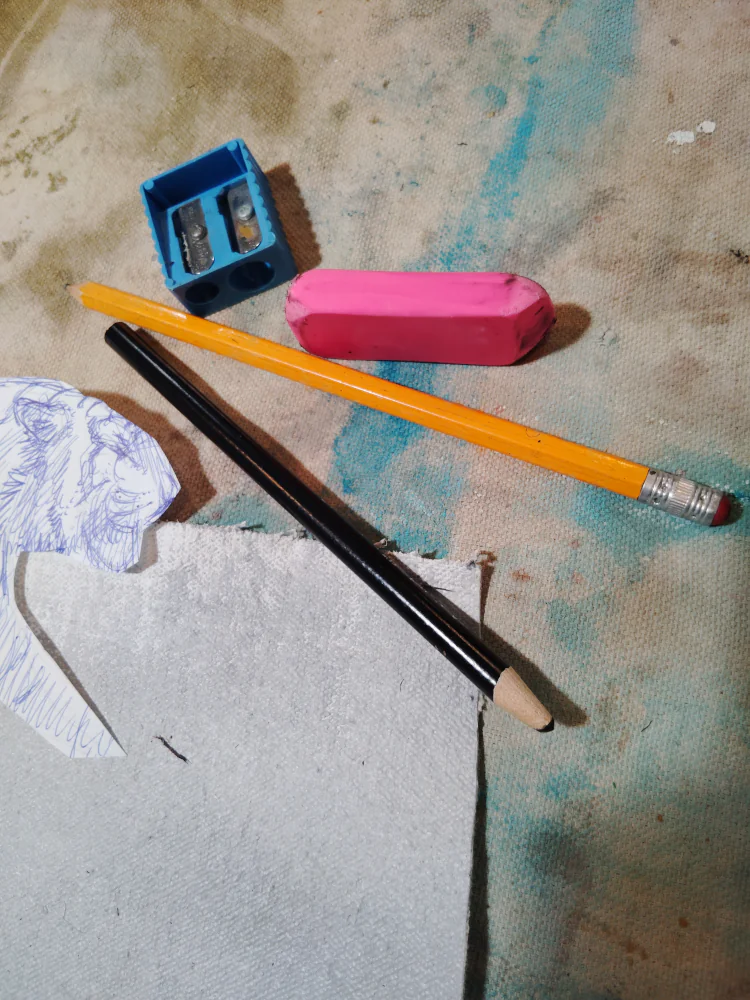
Start the Tiger Sketch with a pencil or pen: For this demonstration, start with a simple pencil sketch on paper. Remember to use a mirror to double check you angels and proportions. Keep practicing your cat sketch over and over. I usually throw away the first 10 sketches, since they are just practice. “Practice makes Perfect” At this point, you will be more comfortable drawing the tiger without depending so much on the photo or cat image reference. You still need photo references for the final painting, but the point emphasized is to familiarize yourself with the big cats features.
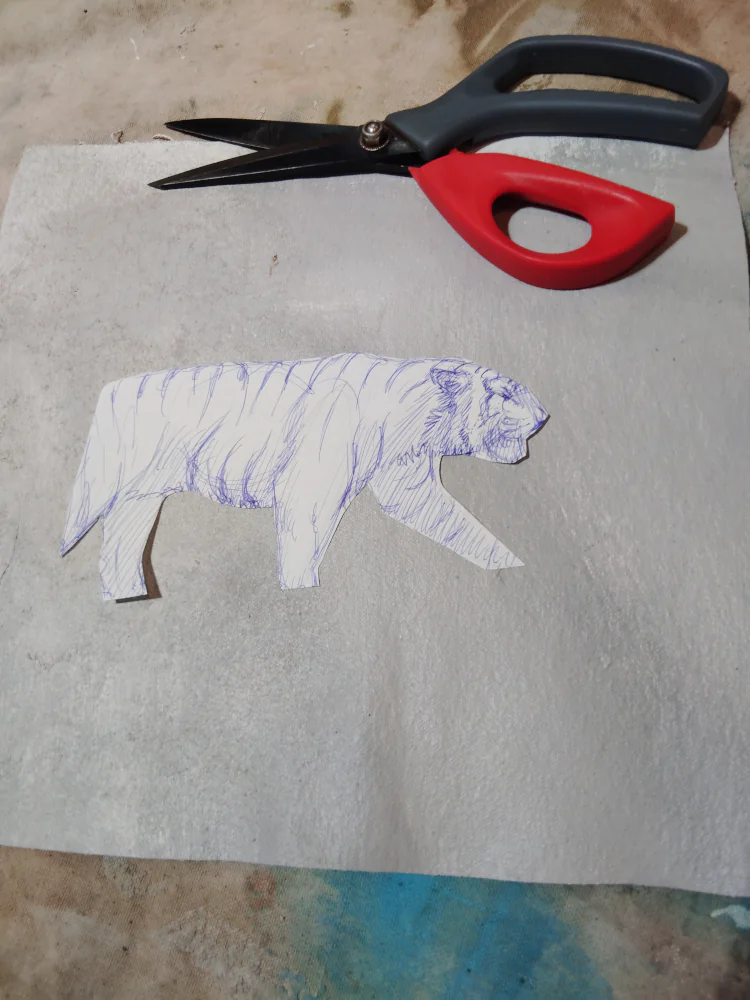
Start using your favorite medium: Once you are happy with your final sketch, cut the tigers outline with scissors, and use that as a template for creating multiple paintings. This template can used over and over, so you get familiar with the big cats pose, and your painting will eventually look more natural with practice. All my painting tutorial are created with 90% acrylic medium, and 10% crayons, colored pencil or ink.
Step 1: Start with a Pencil Sketch
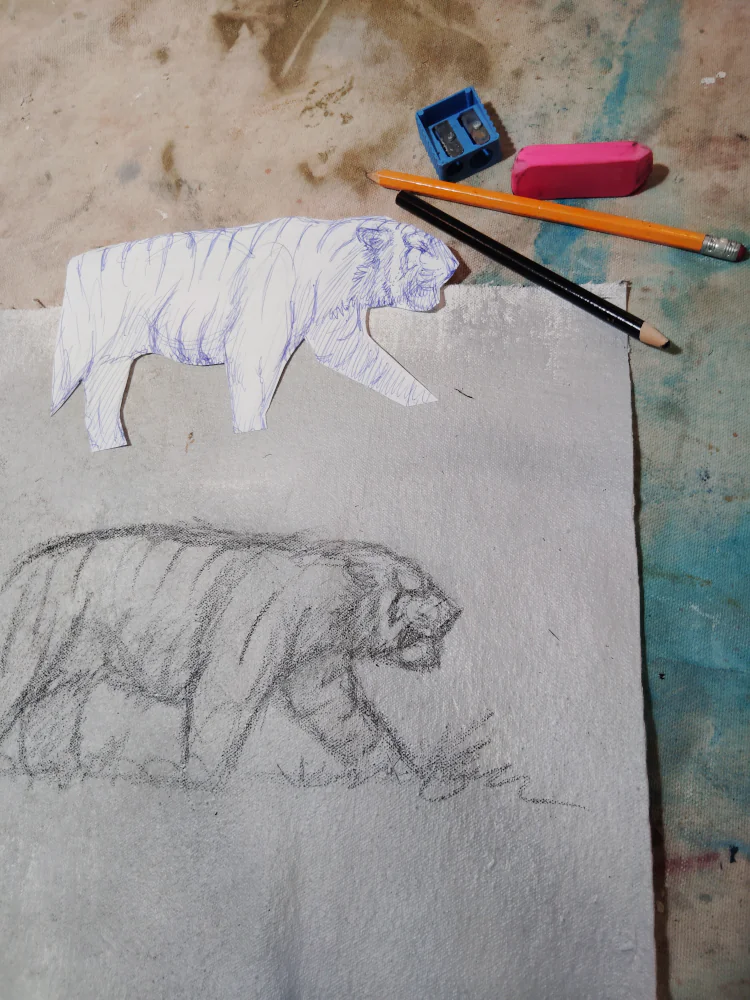
For this demonstration, we’ll start with a simple pencil sketch on paper. Don’t be afraid to make mistakes! I usually throw away my first 10 sketches as practice. Remember to use a mirror to check your angles and proportions. The goal is to become comfortable drawing the tiger’s features without depending heavily on a photo reference.

Step 2: Create a Reusable Template
Once you are happy with your final sketch, cut the tiger’s outline out with scissors. This creates a template you can use for multiple paintings. Using a template helps you get familiar with the big cat’s pose, and your paintings will look more natural with practice.
Step 3: Begin Painting
Now it’s time to use your favorite medium. All my painting tutorials are created with 90% acrylics, supplemented with about 10% crayons, colored pencils, or ink. Place your template on your canvas and begin blocking in the major shapes and colors.
to be continued…